Astrophotography : How to Take Beautiful Images of the Night Sky
Recently I’ve become mildly obsessed with astrophotography. Really, it shouldn’t come as a surprise to any of you…I mean, it’s basically combining my two great loves: photography and the universe! As a former space camp graduate and wearer of one too many NASA t-shirts, I’ve always been awed by the night sky. It helps that I live in Kansas, where the sky is particularly breathtaking. And while I have always loved taking images of the daytime sky, I never could capture images of the night sky that really illustrated it’s incredible beauty.
A few weeks ago I decided this was the summer of astrophotography. This is a fancy term that basically means “photos of the stars.” I have done a few night sessions, and while my photos are nowhere near perfect, I’m happy with how my skills are improving. As I’ve been posting my images on social media, I’ve had quite a few inquiries from photographers and novices alike asking how I achieved these photos. So I decided to share a few of the tricks and tips I’ve learned in the past month or so, in the hopes that more of you will get out there and stare up at the stars with me.
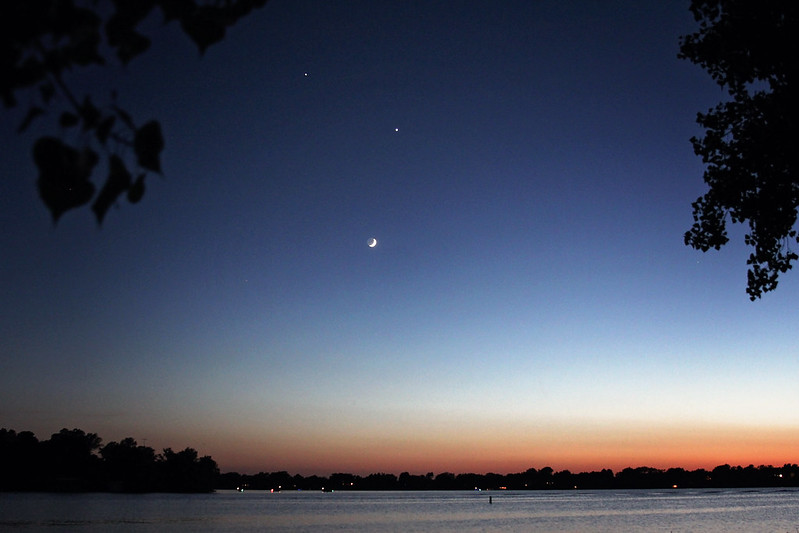
1/13 shutter speed, f/2.8, ISO 1250, shot with a tripod and timer | The Moon, Venus and Jupiter
1. Put Your Camera in Manual Mode – There is really no way you’re going to get images that capture the real beauty of the night sky unless you are shooting in the manual setting. I know, I know, it can be intimidating. But you can do it!
2. Keep Your Aperture Wide Open – Aperture measures how wide open your lens is, which determines how much light is let in. Since you need as much light as possible to be captured due to the low light situation, you’re going to want a wide open aperture. All of my recent night images have been taken at a f/2.8, but I want to try and use another lens next time that goes to f/1.8. Remember, aperture is weird….the lower the number, the more open the lens is. So just go as low as you can.
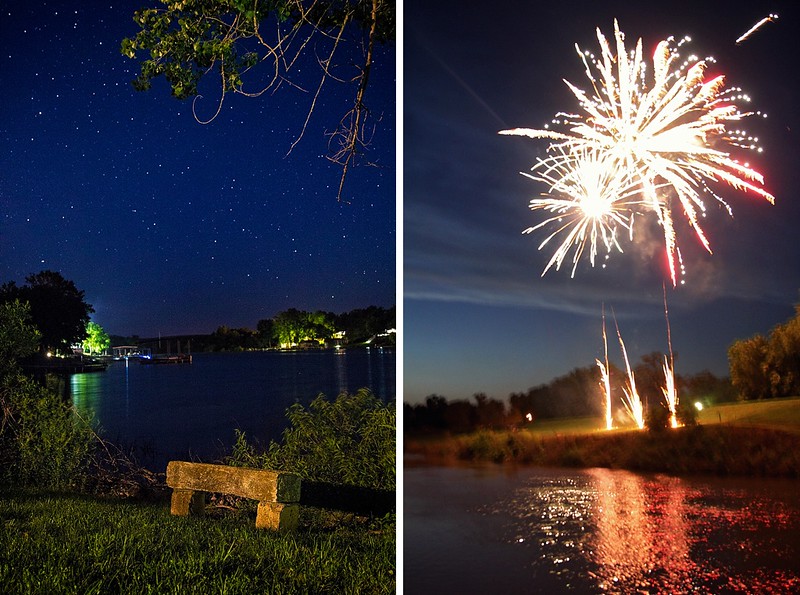
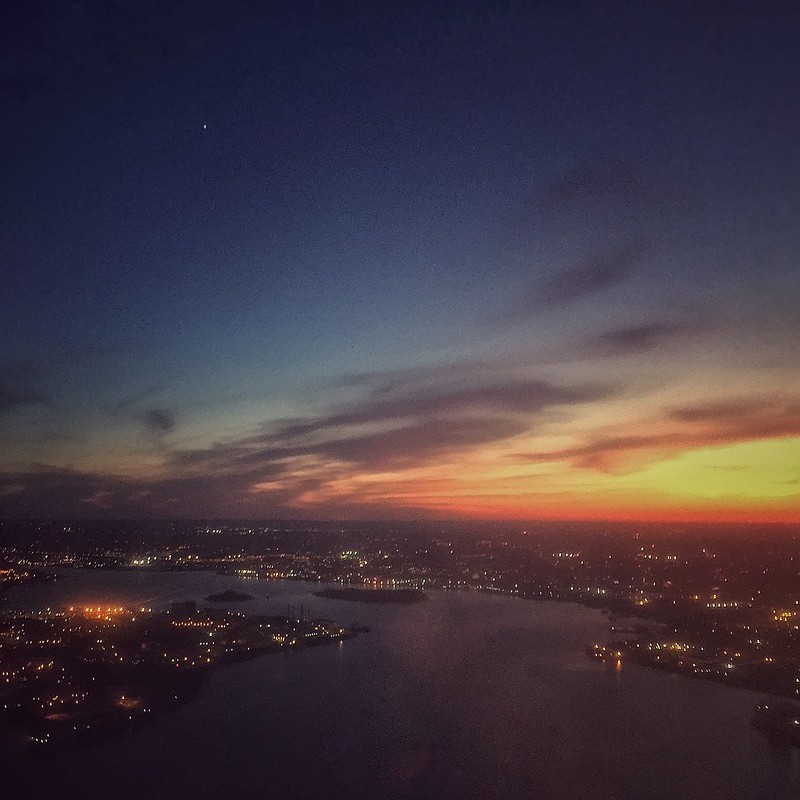
6 second shutter speed, f/2.8, ISO 1600, shot with a tripod and timer – 0.6 second shutter speed, f/2.8, ISO 1250, shot handheld leaning on a bridge (that’s why there is blur)
3. Don’t Get Too Crazy with ISO – I know some people who take great images of the night sky with a super high ISO, but I’m not one of them. My good old Canon 60D only goes up to 6400 ISO, and if I’m going that high, the images are super grainy. Sometimes I like a little grain, but in astrophotography, it really takes away from the image. If your camera has a more sensitive ISO setting, by all means, go for it. But I’ve been keeping mine at around 1250 for night shots and it’s working out just fine.
4. Shutter Speed – This is another tricky one…to get the best exposure, I tried leaving the shutter open for up to 30 seconds per shot. But as we are actually flying through space on a giant rock, when I do that, the movement of the stars shows up in my images. Now, this can actually be super cool, and I’m hoping to do a shoot soon where I focus more on capturing the stars movement, but with my 60D, the movement just ends up looking blurry. I’ve found a sweet spot at between 10 and 20 seconds and I’m sticking with it.
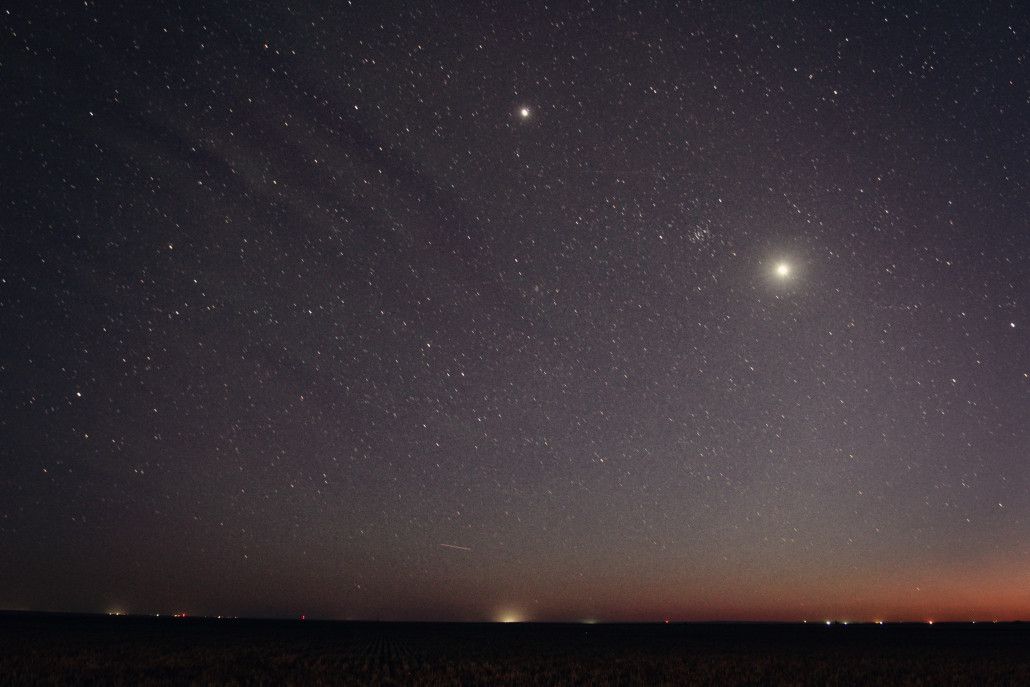
30 second shutter speed, f/2.8, ISO 1250, shot with a tripod and timer
5. Use a Tripod and a Remote or Timer – Because your shutter is open for a while, any movement with show up as blur in your images. To help combat this, use a tripod and remote or timer on your camera. The tripod will keep your camera as steady as possible. Even the motion of pushing the shutter button will cause movement, so if you have a remote, using it will get rid of the blur. Another option is to set a timer on your camera and take the image that way.
6. Manual Focus – If you are using your camera’s focal points, it’s going to be really difficult to get a good image. I actually hate using manual focus, because I’m near sighted and no matter how strong my glasses prescription is, what I’m seeing in the viewfinder of my camera doesn’t seem to match up with my camera lens. The more I practice with this, the easier it seems to be.
7. Location Elements Count – While often I just want to look up and shoot the sky, it’s important to have other elements in your images that give some perspective. Whether it’s a person, horizon, building, tree or anything else, these items will frame your sky and give your photo much more interest. However, get as far away as you can from artificial light. Night sky photos look best when you are far away from cities or other lighted elements, which can blow out the stars in your images.

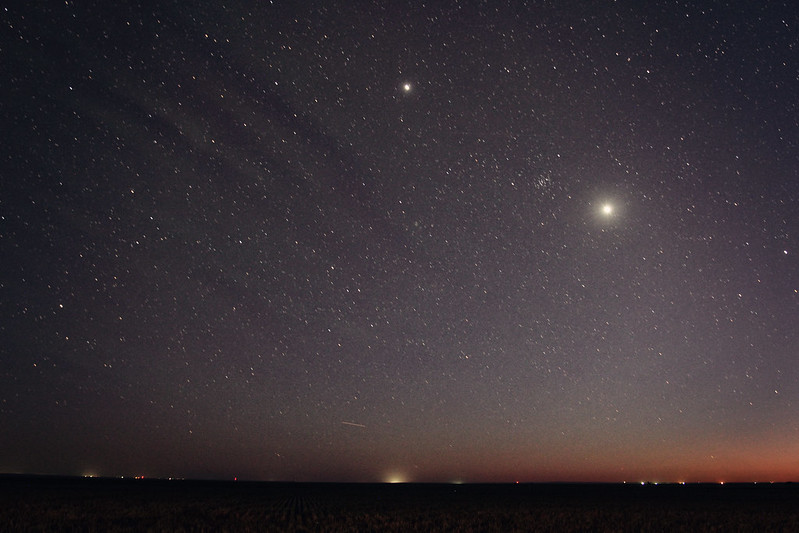
10 second shutter speed, f/2.8, ISO 1250, shot with a tripod and timer
8. Shoot in RAW Format – While I almost always shoot in JPEG, when I shoot at night, I do change over to RAW. It’s just so much easier to work on the images in post production if you shoot them in RAW. Yes, they are bigger and take up more space, but it’s worth it.
9. Practice, Practice and Practice Some More – The more I shoot images of the sky, the easier the images seem to come. I always shoot a ton of images and then when I go back through I can find what did and did not work. One of my favorite night photos was a total afterthought…I’d spent hours setting up the perfect horizon shot, but it wasn’t working for me. The sky was too blown out, and while the images looked great on the small screen, when I blew them up larger there was a lot of motion and blur. So at the last minute I turned down my shutter speed, turned around, and shot the sky behind me. Boom, my favorite image from that night.
10. Don’t Go Overboard in Post Production – Yes, you can do amazing things in Photoshop. Of course, I use it. But with my sky photos, I try not to overdo the post processing too much. I edit in Adobe RAW first, where I can increase vibrance and contrast, then I pull into Photoshop. Mostly I just color correct if needed and sharpen, but I will also run an action or two to give the image a little extra oomph. It’s so easy to go too far, however, and I try to be mindful of that.
Bonus Tip: Do you want to try and take night images with your cell phone? They won’t be as crisp as with a DSLR, but it’s possible! You will want to put the phone on a solid surface (or use some sort of small tripod) and use the Slow Shutter app plus a timer to take the image. I always edit iPhone night photos in Snapseed. It has a lot of the same tools as Photoshop, and its very user-friendly.
1/15 shutter speed, f/2.2, ISO 250, shot with an iPhone and edited in Snapseed
Go forth, and capture a star, my friends! Or maybe a couple million, if you’re feeling lucky!


Leave a Reply
Want to join the discussion?Feel free to contribute!